Every Step To Give Yourself a Facial at Home (and The Products to Use)
By Danielle Lewis | Apr 06, 2020
Trying to carve out time in your jam-packed schedule for a facial can feel like a luxury that you’re too time-starved to afford. We all know that a consistent skincare routine is the best route to skin you love, but booking consistent facials can be costly, both in time and money. But does that mean you have to miss out on the benefits of facials? No! We’re here to show you how to serve yourself a healthy dose of skin love right there in your very own bathroom. Ready to learn how to DIY your own facial at home? Read on.
What is a Facial?
A facial is a treatment that deep cleans, whisks away dead skin and delivers customized treatments based on your individual skin concerns. Most facials include the following steps:
Cleanse: Removing all makeup & impurities from the skin
Exfoliation: Dead skin is removed using either a chemical or physical exfoliant.
Extractions: The process of clearing clogged pores either by hand or with an extracting tool.
Facial Massage: During a facial, massage is used to soothe and to aid with lymphatic drainage.
Masks and Treatments: Custom masks and treatments are applied based on skin concern.
Step-by-Step At Home Facial Routine
Step 1: Cleanse with Drift Away™ Cleanser. Apply to dry skin and work it in to loosen any makeup or residue on the top layer. This cleanser acts like a double-cleanse in a single step eliminating steps without compromising on cleanliness. Rinse off with water.<product>1</product>
Step 2: Exfoliate the top layer of dead skin so that your treatments can penetrate more deeply. For a chemical exfoliant that removes dead skin with a mix of AHAs and BHAs, use Fast Lane Instant Facial.<product>2</product>
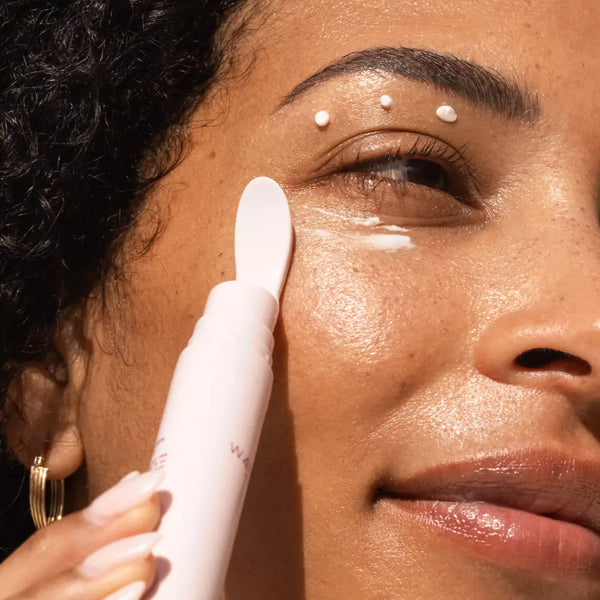
Step 3: Moisturize your skin with the hydration you deserve with Dive In. It contains Pentavitin which keeps delivering hydration for 72 hours. This is when you can use the best tool that requires no spend: Your fingers! Instead of smearing moisturizer onto your face, use your fingers to apply and gently massage upwards, towards temples, and outwards. Make sure to always take your massage down the neck to promote lymphatic drainage.
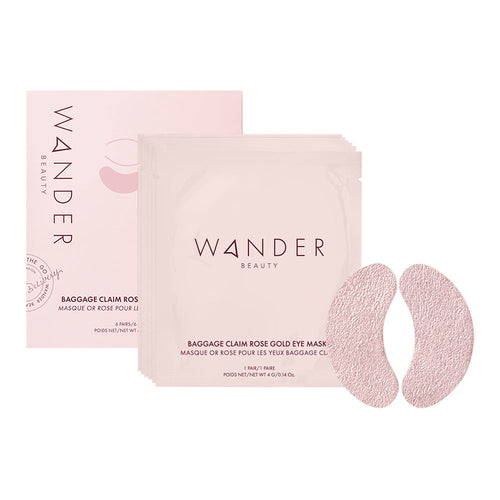
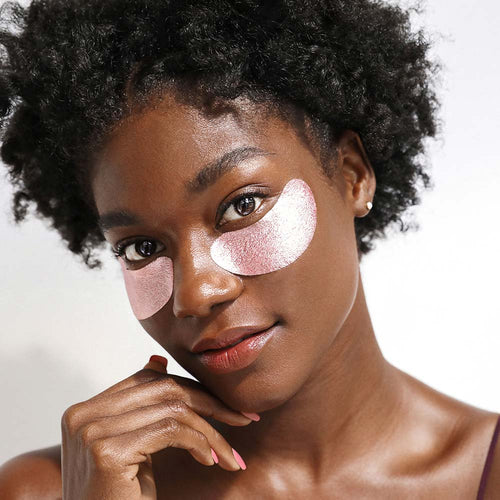
Step 4: Mask with one of our favorites: Baggage Claim Eye Masks. These foil eye masks deliver much needed hydration to the under eyes, while the foil locks in heat for more absorption. After relaxing for 10-20 minutes in your masks, remove and tap in the excess serum all over the eye area.<product>3</product>
Step 5: Seal the deal with Glow Ahead Face Oil. Since oils nourish and lubricate, but don’t actually contain any water (i.e. they don’t moisturize), they form a protective barrier on the surface of the skin to help keep water in, sealing in all of the layers you just applied.<product>4</product>
What are your must-haves for your DIY spa moment? Don’t skimp on skincare because you’re crazy busy! Let us know how you give yourself an at home facial - we want to hear all of your tricks!
Every Step To Give Yourself a Facial at Home (and The Products to Use)
Trying to carve out time in your jam-packed schedule for a facial can feel like a luxury that you’re too time-starved to afford. We all know that a consistent skincare routine is the best route to skin you love, but booking consistent facials can be costly, both in time and money. But does that mean you have to miss out on the benefits of facials? No! We’re here to show you how to serve yourself a healthy dose of skin love right there in your very own bathroom. Ready to learn how to DIY your own facial at home? Read on.
What is a Facial?
A facial is a treatment that deep cleans, whisks away dead skin and delivers customized treatments based on your individual skin concerns. Most facials include the following steps:
Cleanse: Removing all makeup & impurities from the skin
Exfoliation: Dead skin is removed using either a chemical or physical exfoliant.
Extractions: The process of clearing clogged pores either by hand or with an extracting tool.
Facial Massage: During a facial, massage is used to soothe and to aid with lymphatic drainage.
Masks and Treatments: Custom masks and treatments are applied based on skin concern.
Step-by-Step At Home Facial Routine
Step 1: Cleanse with Drift Away™ Cleanser. Apply to dry skin and work it in to loosen any makeup or residue on the top layer. This cleanser acts like a double-cleanse in a single step eliminating steps without compromising on cleanliness. Rinse off with water.<product>1</product>
Step 2: Exfoliate the top layer of dead skin so that your treatments can penetrate more deeply. For a chemical exfoliant that removes dead skin with a mix of AHAs and BHAs, use Fast Lane Instant Facial.<product>2</product>
Step 3: Moisturize your skin with the hydration you deserve with Dive In. It contains Pentavitin which keeps delivering hydration for 72 hours. This is when you can use the best tool that requires no spend: Your fingers! Instead of smearing moisturizer onto your face, use your fingers to apply and gently massage upwards, towards temples, and outwards. Make sure to always take your massage down the neck to promote lymphatic drainage.
Step 4: Mask with one of our favorites: Baggage Claim Eye Masks. These foil eye masks deliver much needed hydration to the under eyes, while the foil locks in heat for more absorption. After relaxing for 10-20 minutes in your masks, remove and tap in the excess serum all over the eye area.<product>3</product>
Step 5: Seal the deal with Glow Ahead Face Oil. Since oils nourish and lubricate, but don’t actually contain any water (i.e. they don’t moisturize), they form a protective barrier on the surface of the skin to help keep water in, sealing in all of the layers you just applied.<product>4</product>
What are your must-haves for your DIY spa moment? Don’t skimp on skincare because you’re crazy busy! Let us know how you give yourself an at home facial - we want to hear all of your tricks!