How To Give Yourself a Facial Massage
By Cassidy Best | May 15, 2020
If you’re reading this, you likely know how important it is to choose the right skincare products in order to have the brightest, most youthful skin possible. But did you know that you may be missing a crucial step? Just like you stretch after a hard workout, a facial massage could relieve the tension in the often neglected facial muscles. Now more than ever, you’ve got the time to play around with your skincare routine: Try adding in a five minute facial massage and by the time we’re finished social distancing, you’ll have refreshed, glowing skin!
The Benefits of Facial Massage
There are proven benefits to frequent facial massages, and not just aesthetically. By spending time physically releasing built up tension, you’re helping out your Lymphatic system (which is essentially white blood cells draining toxins from an area). This helps to reduce puffiness, fine lines, and wrinkles. It also helps stimulate blood flow, so you’ll notice your skin will visibly brighten. Through your massage, you’ll be stimulating lymph fluid, which helps the skin’s natural cleansing process and can actually give your immune system a boost.
Additionally, facial massages increase blood and oxygen flow to the face. Increasing circulation will immediately make skin appear more vibrant and youthful. You’ll help boost collagen production, which is important for maintaining skin's elasticity. Finally, facial massage also helps the serums and moisturizers in your routine absorb into your skin more easily, so you’ll never waste a precious drop. Plus, after you spend time massaging, you’ll be stress-free, relaxed, and ready to hit the hay.
The Prep
Like any new skincare method, skin needs to be properly prepped in order for the method to succeed. The most important preparation for a facial massage is that your face needs to have a little slip before you begin massaging. You never want to feel like you’re tugging on your skin as this will only enhance the lines and wrinkles you’re trying to prevent.
Do your usual nightly routine, stopping when you reach your moisturization or face oil step. We recommend applying Dive In Moisturizer and then following with Glow Ahead Face Oil to seal your skincare in. Once your face is freshly moisturized and your hands are washed, you’re ready to begin!<product>1,2</product>
The Tools
Though they are not necessary, there are tools that can be helpful for a facial massage. Two tools you’ve likely seen on Instagram (but may not know what they do) are a facial roller and a gua sha. A facial roller looks exactly like it sounds - almost like a mini rolling pin, while a gua sha looks more like a flat, smooth stone. Both tools assist in healing and rejuvenating the skin by reducing swelling, stress, and tension.
So what’s the difference? Facial rollers are simple and easy to use, but are generally more of a soothing treatment. They are a quick fix for puffiness and help stimulate blood flow. They come in a variety of materials such as jade and quartz. In contrast, a gua sha works more deeply into the skin, releasing muscle tension and stress, and makes a bigger difference when working with deep wrinkles or lines. However, there is a technique to follow. It can be a bit tricky to get the hang of it. We recommend starting with a roller or your fingers and working your way up to a gua sha once you're more comfortable.
The Good Stuff
So now that you know the benefits and how to prepare for a facial massage, it’s time to get down to business. Let’s break it down step by step.
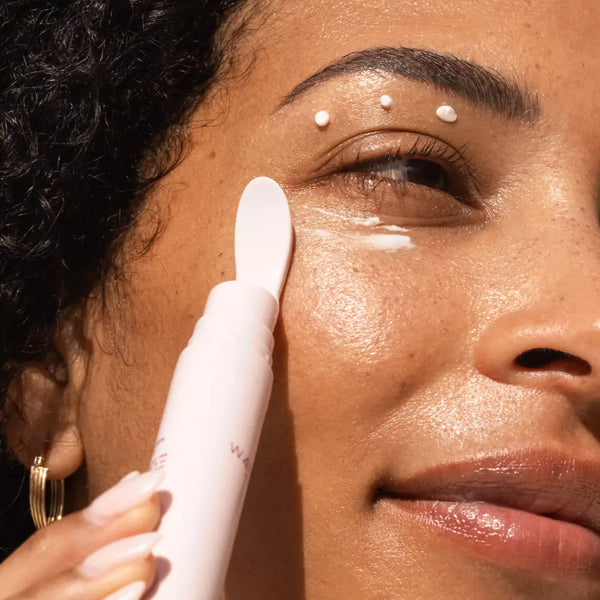
STEP 1: Squeeze a small amount of a face oil or a light moisturizer into the palm of your hands (yes, even though you just applied it onto your skin, you need product on your hands for the best results). Gently rub your hands together to evenly distribute the formula.
STEP 2: Press your fingertips between your brows and slide up your forehead to your hairline. Repeat these movements, increasing pressure, starting in the middle of the forehead and moving outward towards the temples.
STEP 3: Move to the center of your face and start directly under the cheek bones near your nose. Then use your fingertips to massage the tension under your cheeks, moving out towards your ears. Use small, pressing movements to target built up pressure.
STEP 4: Drop your fingers to your jawline, starting at the corners of your mouth and continuing along your jawline. Use a sliding movement back and forth, applying pressure until you feel the tension begin to break.
STEP 5: Finally the finish line! Complete your facial massage with an area that’s often a forgotten step in skincare: your neck. Begin at your collarbone and move up towards your jawline. Slide your fingertips back and cover the entire neck.
The Eyes
The skin around the eyes tends to be very delicate so it can’t handle the same massage intensity as the rest of your face. However, from staying up too late, to not drinking enough water, we know there are a number of reasons the eye area often gets puffy. It's just as important to include an eye massage into your routine.
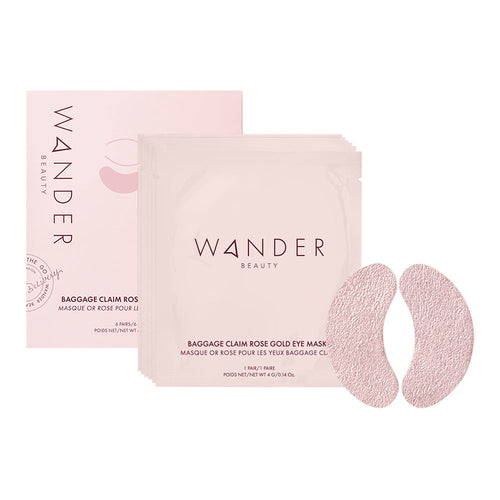
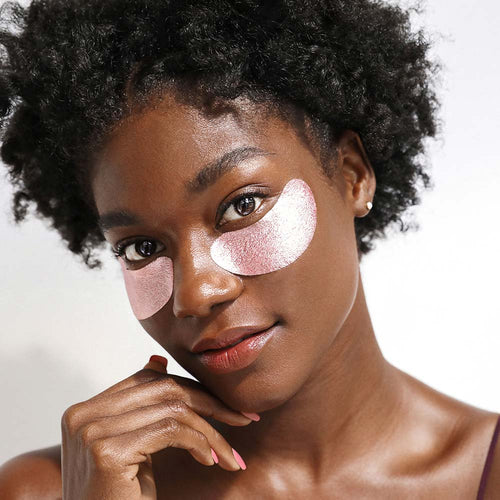
We recommend starting this massage by applying Baggage Claim Eye Masks to the under eye area. Then with the masks on, massage the covered area. Use soft pressing movements from inner to outer corners, and back again. This will stimulate the blood flow underneath your eyes and help to reduce puffiness. Remove the masks after 10-15 minutes and use soft, circular motions to rub in the remaining serum. Say “bye-bye” to puffy under eyes!<product>3</product>
Remember that everyone’s skin is different, so listen to your body and what works best for you. Feel free to switch up the steps and increase or decrease pressure where needed.
Have you added a facial massage into your routine? Let us know at @Wander_Beauty!
How To Give Yourself a Facial Massage

If you’re reading this, you likely know how important it is to choose the right skincare products in order to have the brightest, most youthful skin possible. But did you know that you may be missing a crucial step? Just like you stretch after a hard workout, a facial massage could relieve the tension in the often neglected facial muscles. Now more than ever, you’ve got the time to play around with your skincare routine: Try adding in a five minute facial massage and by the time we’re finished social distancing, you’ll have refreshed, glowing skin!
The Benefits of Facial Massage
There are proven benefits to frequent facial massages, and not just aesthetically. By spending time physically releasing built up tension, you’re helping out your Lymphatic system (which is essentially white blood cells draining toxins from an area). This helps to reduce puffiness, fine lines, and wrinkles. It also helps stimulate blood flow, so you’ll notice your skin will visibly brighten. Through your massage, you’ll be stimulating lymph fluid, which helps the skin’s natural cleansing process and can actually give your immune system a boost.
Additionally, facial massages increase blood and oxygen flow to the face. Increasing circulation will immediately make skin appear more vibrant and youthful. You’ll help boost collagen production, which is important for maintaining skin's elasticity. Finally, facial massage also helps the serums and moisturizers in your routine absorb into your skin more easily, so you’ll never waste a precious drop. Plus, after you spend time massaging, you’ll be stress-free, relaxed, and ready to hit the hay.
The Prep
Like any new skincare method, skin needs to be properly prepped in order for the method to succeed. The most important preparation for a facial massage is that your face needs to have a little slip before you begin massaging. You never want to feel like you’re tugging on your skin as this will only enhance the lines and wrinkles you’re trying to prevent.
Do your usual nightly routine, stopping when you reach your moisturization or face oil step. We recommend applying Dive In Moisturizer and then following with Glow Ahead Face Oil to seal your skincare in. Once your face is freshly moisturized and your hands are washed, you’re ready to begin!<product>1,2</product>
The Tools
Though they are not necessary, there are tools that can be helpful for a facial massage. Two tools you’ve likely seen on Instagram (but may not know what they do) are a facial roller and a gua sha. A facial roller looks exactly like it sounds - almost like a mini rolling pin, while a gua sha looks more like a flat, smooth stone. Both tools assist in healing and rejuvenating the skin by reducing swelling, stress, and tension.
So what’s the difference? Facial rollers are simple and easy to use, but are generally more of a soothing treatment. They are a quick fix for puffiness and help stimulate blood flow. They come in a variety of materials such as jade and quartz. In contrast, a gua sha works more deeply into the skin, releasing muscle tension and stress, and makes a bigger difference when working with deep wrinkles or lines. However, there is a technique to follow. It can be a bit tricky to get the hang of it. We recommend starting with a roller or your fingers and working your way up to a gua sha once you're more comfortable.
The Good Stuff
So now that you know the benefits and how to prepare for a facial massage, it’s time to get down to business. Let’s break it down step by step.
STEP 1: Squeeze a small amount of a face oil or a light moisturizer into the palm of your hands (yes, even though you just applied it onto your skin, you need product on your hands for the best results). Gently rub your hands together to evenly distribute the formula.
STEP 2: Press your fingertips between your brows and slide up your forehead to your hairline. Repeat these movements, increasing pressure, starting in the middle of the forehead and moving outward towards the temples.
STEP 3: Move to the center of your face and start directly under the cheek bones near your nose. Then use your fingertips to massage the tension under your cheeks, moving out towards your ears. Use small, pressing movements to target built up pressure.
STEP 4: Drop your fingers to your jawline, starting at the corners of your mouth and continuing along your jawline. Use a sliding movement back and forth, applying pressure until you feel the tension begin to break.
STEP 5: Finally the finish line! Complete your facial massage with an area that’s often a forgotten step in skincare: your neck. Begin at your collarbone and move up towards your jawline. Slide your fingertips back and cover the entire neck.
The Eyes
The skin around the eyes tends to be very delicate so it can’t handle the same massage intensity as the rest of your face. However, from staying up too late, to not drinking enough water, we know there are a number of reasons the eye area often gets puffy. It's just as important to include an eye massage into your routine.
We recommend starting this massage by applying Baggage Claim Eye Masks to the under eye area. Then with the masks on, massage the covered area. Use soft pressing movements from inner to outer corners, and back again. This will stimulate the blood flow underneath your eyes and help to reduce puffiness. Remove the masks after 10-15 minutes and use soft, circular motions to rub in the remaining serum. Say “bye-bye” to puffy under eyes!<product>3</product>
Remember that everyone’s skin is different, so listen to your body and what works best for you. Feel free to switch up the steps and increase or decrease pressure where needed.
Have you added a facial massage into your routine? Let us know at @Wander_Beauty!