5 Steps For The Perfect At-Home Manicure
By Caroline Maeda | May 13, 2020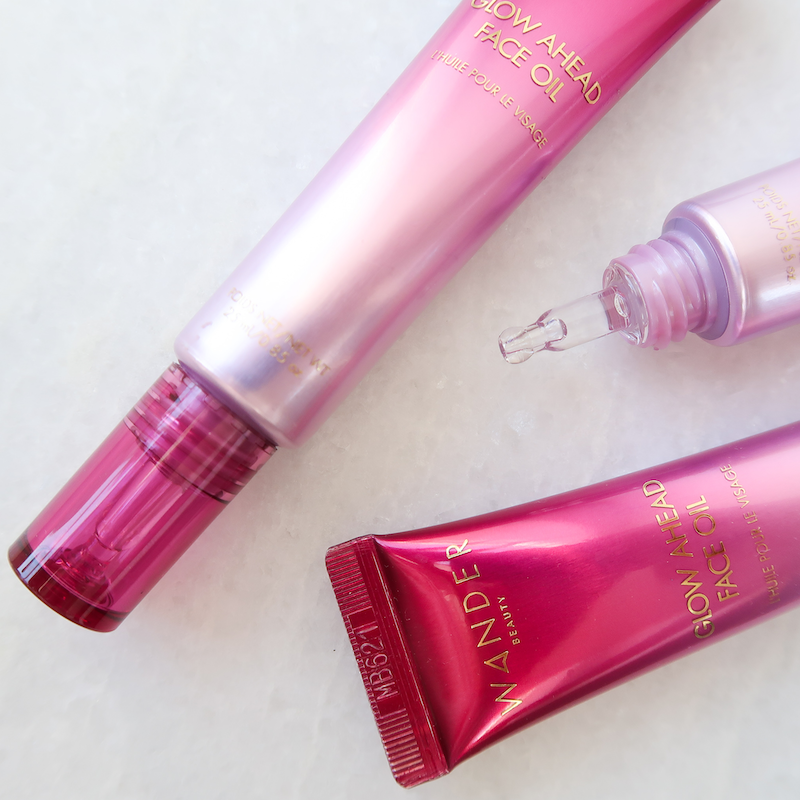
Raise your hand if you miss your nail tech! *Raises both hands* With salons closed, many of us have been performing our own beauty services at home. And even though we've watched the process time and time again, a quick refresher can help you get the job done with confidence! Read on to find out how to nail the perfect at-home manicure in 5 steps.
1. CUT AND SHAPE
Start with clean nails. If your nails are long, cut them down first to your desired length. Then file nails into your preferred shape. The choices are endless - choose from round, square, almond, stiletto, and more! When filing, start at one corner and file inward towards the center. Repeat this on the other side. It’s best to file in one direction and to avoid using a back-and-forth sawing motion. This will help keep nails smooth and protect them from splitting and tearing.
2. BUFF
Buff nail surfaces and edges to smooth out any remaining unevenness. A smooth nail plate will help extend the wear of your nail polish.
3. CUTICLE CARE
Apply a cuticle oil to soften cuticles. Our multitasking Glow Ahead Face Oil can be massaged onto nails to soften and hydrate cuticles. While you may be used to having your cuticles cut at the salon, it may be best to stick to pushing them back if you’re doing this on your own. If done improperly, cutting your cuticles can lead to cuts, overexposed skin, and nail damage. Once your cuticles have been pushed back, wash hands thoroughly to remove oil. Any traces of leftover oil can disrupt nail polish application.<product>1</product>
4. NAIL POLISH
Begin the nail polish process with a layer of base coat. Base coats help create a barrier to protect your natural nails so they don’t get stained. They also help your manicure last longer by creating an even foundation for the nail polish to adhere to.
Next apply two coats of the nail polish you’ve chosen. Now is the perfect time to experiment with some fun nail art you’ve been meaning to try!
Lastly, seal everything in with a layer of top coat. Top coats give nails a shiny finish and help prevent chipping for a longer lasting manicure.
5. MOISTURIZE
To finish, moisturize with your favorite hand cream and reapply cuticle oil. To keep cuticles from drying out, especially with the increased hand washing lately, apply cuticle oil every night before bed so it can fully absorb overnight.
Have you been doing your nails at home? Show us at @Wander_Beauty!
5 Steps For The Perfect At-Home Manicure

Raise your hand if you miss your nail tech! *Raises both hands* With salons closed, many of us have been performing our own beauty services at home. And even though we've watched the process time and time again, a quick refresher can help you get the job done with confidence! Read on to find out how to nail the perfect at-home manicure in 5 steps.
1. CUT AND SHAPE
Start with clean nails. If your nails are long, cut them down first to your desired length. Then file nails into your preferred shape. The choices are endless - choose from round, square, almond, stiletto, and more! When filing, start at one corner and file inward towards the center. Repeat this on the other side. It’s best to file in one direction and to avoid using a back-and-forth sawing motion. This will help keep nails smooth and protect them from splitting and tearing.
2. BUFF
Buff nail surfaces and edges to smooth out any remaining unevenness. A smooth nail plate will help extend the wear of your nail polish.
3. CUTICLE CARE
Apply a cuticle oil to soften cuticles. Our multitasking Glow Ahead Face Oil can be massaged onto nails to soften and hydrate cuticles. While you may be used to having your cuticles cut at the salon, it may be best to stick to pushing them back if you’re doing this on your own. If done improperly, cutting your cuticles can lead to cuts, overexposed skin, and nail damage. Once your cuticles have been pushed back, wash hands thoroughly to remove oil. Any traces of leftover oil can disrupt nail polish application.<product>1</product>
4. NAIL POLISH
Begin the nail polish process with a layer of base coat. Base coats help create a barrier to protect your natural nails so they don’t get stained. They also help your manicure last longer by creating an even foundation for the nail polish to adhere to.
Next apply two coats of the nail polish you’ve chosen. Now is the perfect time to experiment with some fun nail art you’ve been meaning to try!
Lastly, seal everything in with a layer of top coat. Top coats give nails a shiny finish and help prevent chipping for a longer lasting manicure.
5. MOISTURIZE
To finish, moisturize with your favorite hand cream and reapply cuticle oil. To keep cuticles from drying out, especially with the increased hand washing lately, apply cuticle oil every night before bed so it can fully absorb overnight.
Have you been doing your nails at home? Show us at @Wander_Beauty!